Howto migrate from Webpacker to cssbundling-rails in Ruby on Rails for CSS
Reading time: 6 minutes
A lot of Ruby on Rails applications created with Ruby on Rails version 5.x or 6.x or even upgraded from the previous versions are using webpacker as their primary asset pipeline. But now as webpacker has retired, it is time to move on. cssbundling-rails is or will be the most obvious step to go.
If you were using webpack(er) for CSS too as I did, I recommend moving your CSS pipeline to an alternative before moving your JavaScript setup to an alternative like jsbundling-rails or importmap-rails.
Why move at all?
As previously said, webpacker was sunset and development already stopped 2021. Also, webpacker has a lot of old dependencies, especially webpack version 3 which can’t be upgraded.
Webpacker suffers a lot of problems that were never solved and now never would be solved at all. It was pretty hard to set up, but delivered quite a lot of useful and needed features back in the days when only sprockets were the only option for handling assets.
Prepare your project
First of all, you have to upgrade your project to at least rails 6.1.x (better rails 7.0.x) as it has everything prepared to get your project on cssbundling-rails. According to Gemfile from cssbundling-rails Ruby on Rails 6.1.0 is the minimum version.
I’ve tried to get all of my projects to current rails (current is 7.0.x) as priority one before I tackle such issues. But this is your decision. Ruby on Rails 6.1.X is enough for this step.
First move to cssbundling-rails before starting jsbundling-rails
As first steop move your css setup to cssbundling-rails and then start moving your JavaScript to jsbundling-rails. If you are a looking for a tutorial to move your project to jsbundling-rails I’ve written one too:
Install cssbundling-rails gem
Install cssbundling-rails first by running:
./bin/bundle add cssbundling-rails
You can also add it manually to your Gemfile and run bundle install to install
it.
Select and run the setup you are using
cssbundling-rails has a lot of different install options you can use:
To make it as simple as possible, just use the setup you had previously used within your project. The first step is always to get your previous setup working with the new system.
Check which one is yours:
./bin/rails css:install:[tailwind|bootstrap|bulma|postcss|sass]
As a lot of my projects are using bootstrap, I’ll show here the bootstrap option as an example.
Using Bootstrap default setup with cssbundling-rails
I use the bootstrap option to show how the default setup is done using
cssbundling-rails. You can move it
to postcss or sass later. Just use the default options to get familiar with
it and has a running project as soon as possible.
./bin/rails css:install:bootstrap
Follow the setup assistant. As with most existing (legacy) projects you may encounter more or fewer changes and errors you need to fix first.
Starting in development through bin/dev
If you were starting your project manually or from a script not named
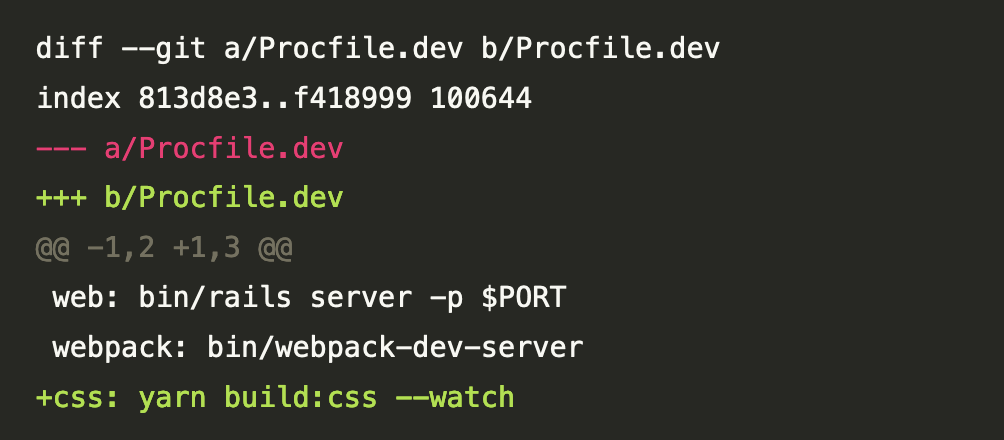
bin/dev, you may align it to the new rails default.
Your Procfile.dev should look something like this in diff:
diff --git a/Procfile.dev b/Procfile.dev
index 813d8e3..f418999 100644
--- a/Procfile.dev
+++ b/Procfile.dev
@@ -1,2 +1,3 @@
 web: bin/rails server -p $PORT
 webpack: bin/webpack-dev-server
+css: yarn build:css --watch
You can start your project by running bin/dev which should look like this:
#!/usr/bin/env sh

if ! gem list foreman -i --silent; then
  echo "Installing foreman..."
  gem install foreman
fi

exec foreman start -f Procfile.dev "$@"
If you could start the project and it was working, then you are like but most people won’t.
Downgrading bootstrap to the used version
Not all projects will be on the newest Bootstrap version (currently 5.2.3). You have to align package.json to your previous setup:
diff --git a/package.json b/package.json
...
   "dependencies": {
     "@rails/ujs": "^7.0.0",
     "@rails/webpacker": "^5.2.1",
     "bootstrap": "^4.6.0",
+    "bootstrap-icons": "^1.10.3",
     "jquery": "^3.6.0",
     "popper.js": "^1.16.1",
+    "sass": "^1.58.0",
     "stimulus": "^3.0.0",
   },
...
Now run yarn install to have the right dependencies installed.
Installing bootstrap-icons is optional. If you don’t use them, just remove the dependency. You can add it if you want to use them.
Move your CSS setup from webpacker to cssbundling-rails
Dependent on your setup, you may have more or fewer customizations on your Bootstrap setup.
As the first step I removed all CSS-related imports from app/javascript/packs/application.js:
diff --git a/app/javascript/packs/application.js b/app/javascript/packs/application.js

// Import CSS
-import 'css/application'
+// import 'css/application'
As next step use the new CSS file generated by cssbundling-rails:
diff --git app/views/layouts/application.html.erb app/views/layouts/application.html.erb

-<%= stylesheet_pack_tag 'application', media: 'all',
-    'data-turbolinks-track': 'reload' %>
+<%= stylesheet_link_tag 'application', media: 'all',
+   'data-turbolinks-track': 'reload', defer: true %>
HINT: cssbundling-rails is loading
app/assets/stylesheets/application.bootstrap.scss but you have to link the
output file which is named application.css. That’s why you have to link to
the application.
Update scss/sass file to your preferred name
You can rename the main CSS file to something else. I prefer to use a default
application.scss and include the relevant files like a custom
Bootstrap file, which imports only relevant parts of
Bootstrap.
There are only 2 steps to have it as you want:
- Rename the file
app/assets/stylesheets/application.bootstrap.scsstoapp/assets/stylesheets/application.scss - Let yarn load the new file through package.json by changing:
diff --git a/package.json b/package.json

   "scripts": {
-    "build:css": "sass ./app/assets/stylesheets/application.bootstrap.scss:./app/assets/builds/application.css --no-source-map --load-path=node_modules"
+    "build:css": "sass ./app/assets/stylesheets/application.scss:./app/assets/builds/application.css --no-source-map --load-path=node_modules"
   }
You can even use a sass file instead of scss if you want. The change should be
obvious by renaming your application.scss file to application.sass.
Move your scss and css files to the new location
As all my css files were located in app/javascript/css/ folder. I moved them
to app/assets/stylesheets.
Including them is as simple as it was before. There are view things you have to consider.
Before you just added the name of the file in the current directory and webpack did the work to find the right one. Now you have to tell sass, that the file is in the current directory:
dif --git app/javascript/packs/application.scss app/assets/stylesheets/application.scss

-@include 'custom';
+@include './custom';
If you have included something from node_modules, it
mostly will stay the same. Previously you had to tell, that it is a .css file.
Now you set the path to the file without giving .css or .scss at the end:
dif --git app/javascript/packs/application.scss app/assets/stylesheets/application.scss

-@import 'tom-select/dist/css/tom-select.bootstrap5.css';
+@import 'tom-select/dist/css/tom-select.bootstrap5';
If you have added only relevant CSS files from
Bootstrap in your project, the imports look now a
little bit different (without ~):
diff --git app/javascript/css/bootstrap_custom.scss app/assets/stylesheets/bootstrap_custom.scss

-@import '~bootstrap/scss/_breadcrumb';
+@import 'bootstrap/scss/_breadcrumb';
Updating your deployment system
As you are now using webpacker and sprockets-rails in parallel, you need to trigger both systems on deployment.
GitHub Actions (CI)
For GitHub Actions as CI system the change is pretty easy. You just have to add the sprockets command:
diff --git a/.github/workflows/ci.yml b/.github/workflows/ci.yml


-      - name: Webpack(er) compilation
-        run: NODE_ENV=test bundle exec rails webpacker:compile
+      - name: Assets and Webpack(er) compilation
+        run: |
+          bundle exec rails assets:precompile
+          NODE_ENV=test bundle exec rails webpacker:compile
Capistrano
The change for capistrano is pretty straight forward. Just enable assets compilation in your Capfile:
diff --git Capfile Capfile

-#require 'capistrano/rails/assets'
+require 'capistrano/rails/assets'
require 'capistrano/webpacker/precompile'
Summary
Moving from webpack(er) packed CSS setup to cssbundling-rails is pretty straightforward, if you know of small differences in using sass and webpack in development. I tried to tell here the most common things you may encounter.
The next step should be to move from webpacker to using jsbundling-rails with esbuild or webpack as JavaScript build system.
If you want to move your JavaScript to jsbundling-rails here is the next tutorial:
Happy coding!
Newsletter
See Also
- Howto remove sprockets-rails from you Ruby on Rails project
- To use or not to use assert_predicate with minitest in Ruby
- Define Default URL for ActiveStorage to fix Mixed Content Error